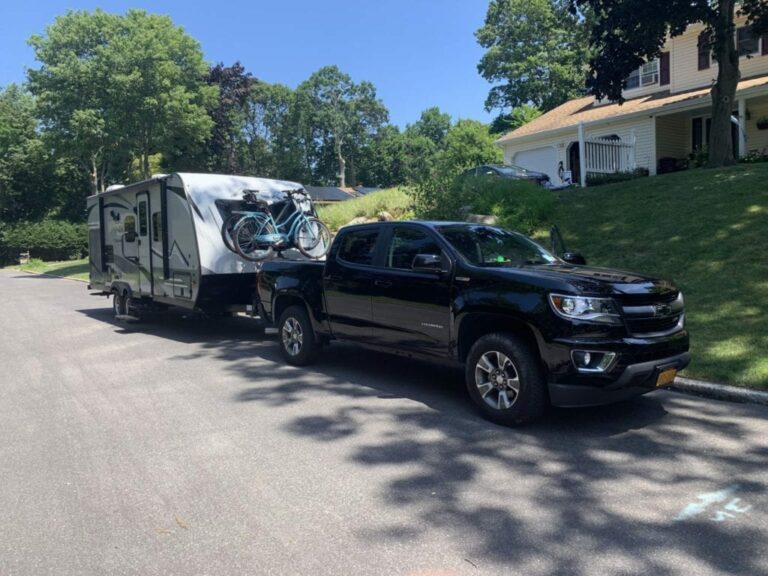
We’re really happy with our Coachmen Apex 215RBK but there are a few design flaws. Early this summer we discovered one of the biggest.
Almost no cold air from the AC gets past the entertainment center into the bedroom!!!
This made for a very hot night until my wife figured out if we rotated the TV 90 degrees so it sat between our feet then the air could get through. This was a genius work around.
So, we spent nearly a week with the TV between our legs.To say I was unhappy with this situation was an understatement. While it cooled things off, it was really uncomfortable kicking the TV all night. So, I spent some time thinking it through and realized the following:
We were going to need active air flow between the two sections. This means we needed to come up with a place to mount a fan.
There were a number of fans that were wall mounted that could work, but the aisle between the entertainment center and the bedroom was too narrow to mount one without making it hard to get in and out of the bedroom.
The upper cabinet in the entertainment center hasn’t really that useful for us. It’s kind of became our eyeglass and junk drawer location. So, I felt like it was a good place to modify. In addition, it isn’t very far from the forward-facing vent of the AC.
The next step was solving two problems. How do we get air in from the front of the cabinet and what kinds of fans made the most sense?I wanted a 12v setup in case we needed it for dry camping, so I ended up picking a pair of 12v computer fans. It’s also a lot easier to wire low voltage. I ended up picking these fans from Amazon. They’re quiet enough with the AC running. Without the AC they’re a little buzzy but we probably won’t use them that often without AC.
I looked at a lot of the fan covers that are available for PCs. I settled on these because they were simple and provided a lot of air flow.
I also decided that I was going to do an inside fan cover so we didn’t accidentally stick glasses or fingers in the fan.
Installing The Fans
Since this was all about air flow, I spent some time puzzling through how to get air from the main cabin into the cabinet. My original plan was to knock out the two side panels and replace them with screen of some sort, but I worried that I’d do all this work and not have enough air flow. So, I decided to replace the glass panel with a perforated aluminum sheet.
It was a simple process. Scrape out the caulk, pull the glass. Trace the glass over the metal. Cut the metal with heavy scissors or snips and caulk it back in.
Once it was installed you didn’t really notice that it was perforated unless you were looking for it.
I wanted to mount the fans as close to the sides as possible in order to retain as much space in the cabinet as possible. You definitely shouldn’t overload the cabinet so the “stuff” doesn’t block the airflow. I measured both the fans and the fan covers to find the center point for where I wanted to mount them.
STOP: MEASURE TWICE – CUT ONCE! You only get to cut these holes once!
I used a 4″ hole saw to cut the holes (go slow – the veneer is paper and gets damaged easily).
I did a test fit with double sided tape shown here.
After I was happy with the positioning and airflow I used the fan as a template to mark and drill the mounting holes
I used #8, 2″ philips screws to mount the fans. 1 3/4″ would have been ideal but they weren’t readily available. I’ll cut the excess with a Dremel when I get some time. I also spray painted the heads of the screws black to match the fan cover.I considered routing the wires up through the top of the cabinet. It looks like there was a 1″ cavity over the top of the cabinet and the ceiling of the camper but I eneded up using small, self stick clips to route the wires to the front of the cabinet to save some time and effort. I’ll see how this holds up.
You can see in the image that I also have a LevelMate Pro mounted. I leave the cover off so its easier to change the battery. This is one of my favorite gizmos!!
You’ll also see the small hole that I cut in the side panel to get power to the fans. There’s a small gap between the outer panel and the inner panels of the cabinet. The factory wiring also goes through that gap.
I pulled the wires down to the cavity behind the factory USB ports and spliced in there. I also installed a switch on the outside panel to control the fans. When I get a little time, I’m going to wire in a PWM controller instead of the switch so I can control both the airflow and the noise.
By the way, it was a pain to pull the cable through the chase, so I left a string in there for next time. There’s always a next time.
I mounted a switch in the outside of the panel opposite the hole I cut on the inside. This is a simple SPST panel mount switch. Its pretty hidden behind the privacy curtains.
We’re very happy with the results. During a 90 degree day, the bedroom stayed within two degrees of the main cabin. Make sure that you turn on the fans well before bedtime so the bedroom has time to cool off!
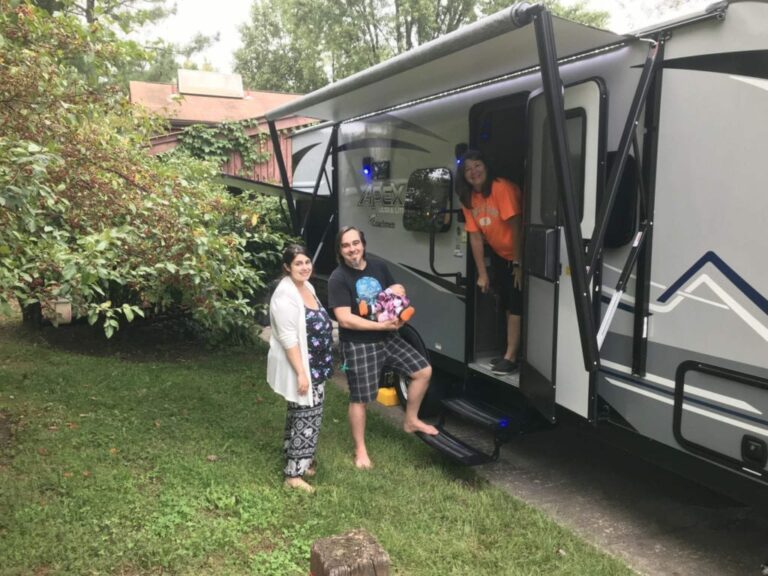
Happy, comfortable camping!
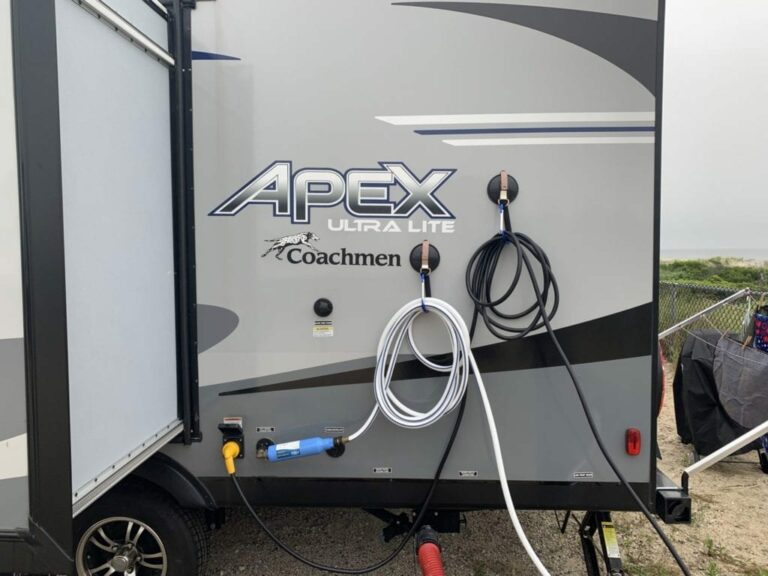
I hate having the hoses and shore power cables sitting on the ground. I saw a picture of this on the internet and I thought it was brilliant. I’ve since lost the link of the original, but here’s my version. To make this work, I combined two really good (but still inexpensive) suction cups and…
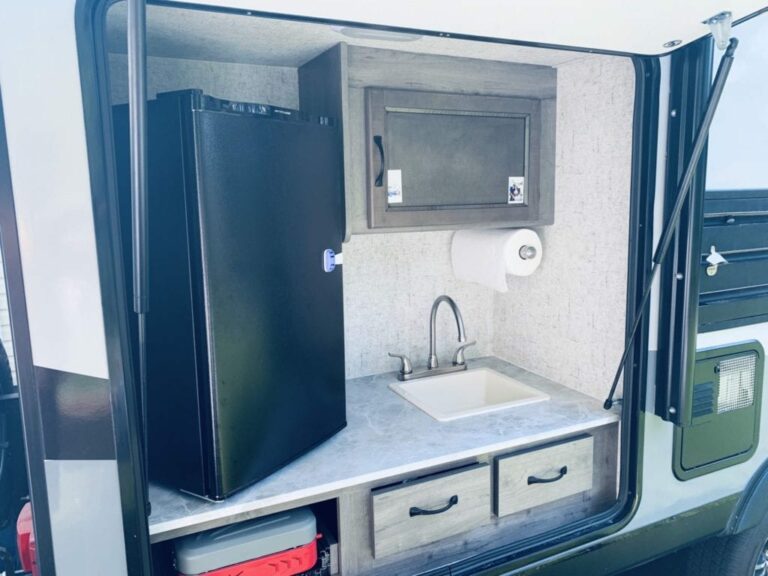
Here”s a Graphical Guide To The Enhancements We Made Just rollover the arrows to see the descriptions.We mounted an Amazon Alexa Dot to the sidewall to replace the tinny outdoor speakers.We added a baby-proofing latch to the fridge.We moved the small inside fire extinguisher to the outside kitchen.We replaced the Coleman grill with a two…
Our first trailer was a Jayco Jayfeather Sport 197. It was our introduction to camping but it had some shortcomings. So we sat down and made a list of features we wanted in an upgrade. It was a fairly short list but it took us months to narrow down to the trailer we wanted Our…